Welcome to The Gamer Buzz, your premier competitive performance and hardware configuration authority. Whether you are optimizing control schemes from high-end tactical rigs in San Francisco, New York, and Seattle, or engineering precision layouts across Texas, California, and Washington, one truth remains absolute: your default game controls are holding you back.
In high-stress competitive multiplayer titles (such as Counter-Strike 2, Valorant, Apex Legends, Overwatch 2, and Call of Duty), split-second reactions win or lose gunfights. When an enemy rounds a corner unexpectedly, you cannot afford to stretch your left hand awkwardly across your keyboard to hit a distant key, nor can you rely on scrolling your mouse wheel to cycle through a utility belt. Every fraction of a millisecond spent shifting your hand posture is latency between your brain and your on-screen action.
Mastering keybind ergonomics means transforming your keyboard and mouse into an extension of your nervous system. In this exhaustive, master-level guide, we break down hand biomechanics, cognitive load distribution, advanced peripheral macros, and the exact custom binding framework required to react instantly under pressure.
1. The Biomechanics of the Left Hand: Why Default Layouts Fail
Most competitive games inherit their default keybindings from older legacy titles, prioritizing alphabetical simplicity (like 1, 2, 3, 4 for weapons) over functional ergonomic efficiency.
The Problem with the Default WASD Layout
- Finger Overload: On a standard QWERTY layout, your left ring finger handles A (strafe left) and frequently has to reach upward for Q (ability/utility) or Tab (scoreboard). Your index finger is tasked with D (strafe right), F (interact/use), R (reload), 4, 5, and multiple ability keys.
- The Conflict: If your index finger is actively holding down D while moving right, forcing it to reach over and press 4 or F creates a physical movement constraint. You either stop moving cleanly or fumble your ability deployment during a gunfight.
The Ergonomic Principle of 1-to-1 Input Isolation
To achieve instant reactions under high stress, no single finger should ever handle more than its fair share of high-priority combat inputs. Every crucial action—weapons switching, communication pings, ability casting, and melee attacks—should sit within an immediate, strain-free radius of your resting hand position.
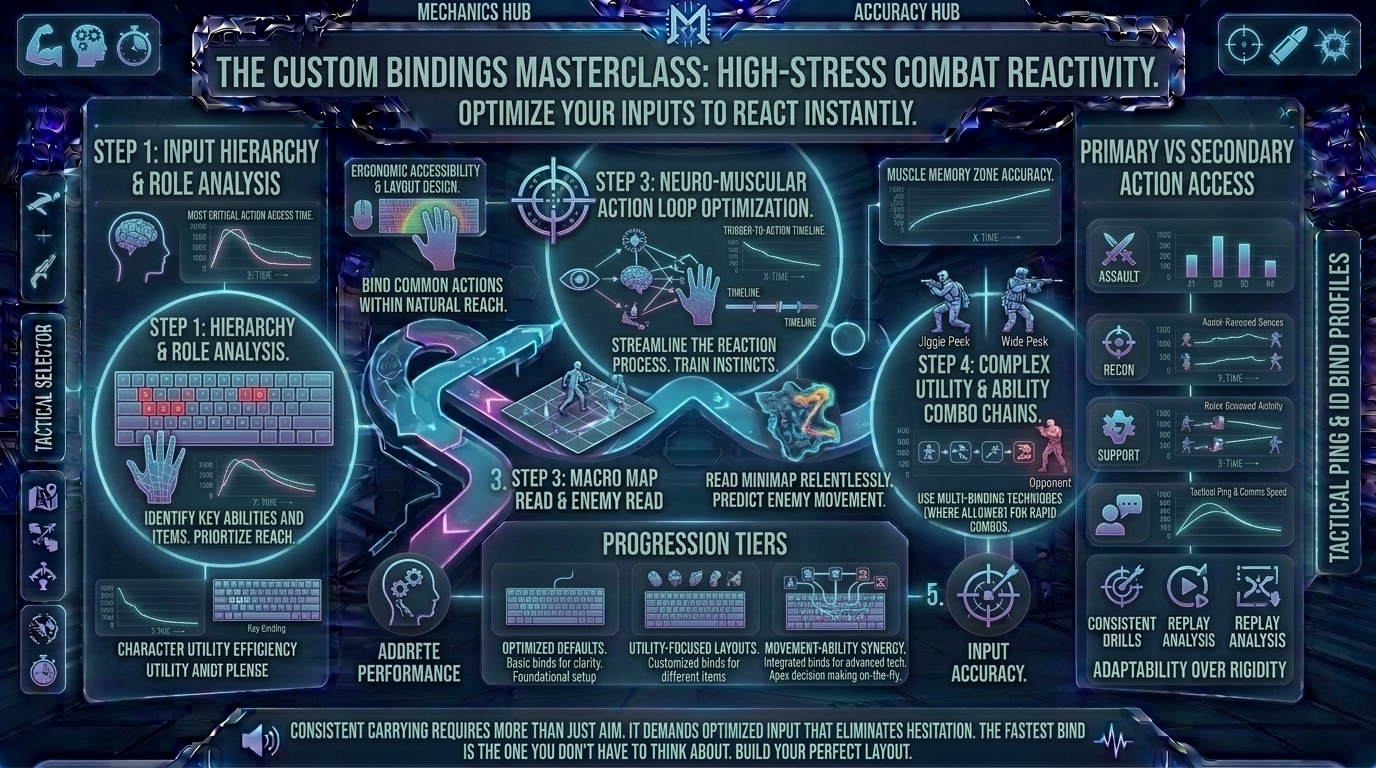
2. The 4-Tier Custom Binding Blueprint
Restructuring your control layout requires a logical hierarchy. Group your actions into four distinct operational tiers based on frequency and urgency.
[Tier 1: Core Movement & Fire (WASD + Mouse)] ➔ [Tier 2: Immediate Combat Actions (Reload, Jump, Crouch)] ➔ [Tier 3: Active Abilities & Equipment (Mouse Buttons)] ➔ [Tier 4: Macro Utility & Communication (Infrequent Keys)]
Tier 1: Core Movement and Firing (Untouchable)
- WASD: Keep your movement keys anchored on W, A, S, D. Moving these breaks decades of gaming muscle memory and yields zero performance benefit.
- Mouse 1 & Mouse 2: Left-click for firing, right-click for scoping/alternate fire.
Tier 2: Instant Combat Actions (Thumb and Pinky Mastery)
- Crouch (Ctrl vs. Shift vs. Mouse): Avoid stretching your pinky to hit Ctrl if it cramps your hand. Many elite players map Crouch to a dedicated side mouse button or Left Shift (flipping walk/crouch depending on the game genre).
- Jump (Spacebar vs. Scroll Wheel): For games featuring bunny-hopping or momentum preservation (like Apex Legends or Counter-Strike), bind secondary jump to Scroll Wheel Down. This allows you to spam jump inputs with 100% reliability during chaotic movement duels.
Tier 3: Abilities and Equipment (Offloading to the Mouse)
This is where standard setups fail and custom binds create an unfair advantage. Your right hand (mouse hand) is massively underutilized for active combat actions.
- Mouse Side Buttons (Thumb 4 & 5): Map your most critical, time-sensitive abilities—such as your tactical dash, flashbang deployment, melee attack, or push-to-talk communication—directly to your mouse thumb buttons. Your thumb can execute these actions instantly without ever disrupting your movement keys.
- Quick-Cast vs. Normal Cast: Always configure your abilities to Quick-Cast (Smart Cast). This casts the ability the exact millisecond you press the key, bypassing the secondary confirmation click that wastes precious milliseconds.
Tier 4: Peripheral Comfort Keys (Q, E, F, R)
- Interaction (F): Keep your general interaction key on F or E so your index finger can access it effortlessly.
- Reload (R): Keep R for reloading, but ensure it never conflicts with mid-combat strafing.
3. Comprehensive Matrix: Default vs. Pro Custom Binds
| Action Category | Default Layout Inefficiencies | Optimized Pro Custom Binding | Competitive Benefit |
| Primary Abilities / Utility | Scattered across 3, 4, 5, Z, X, C | Shift, Mouse 4, Mouse 5, E | Eliminates awkward finger stretching; zero movement disruption. |
| Push-to-Talk (Mic) | CapsLock or V (disrupts thumb/pinky) | Mouse 5 or Mouse Wheel Click | Keeps voice comms completely isolated from hand movement. |
| Melee Weapon / Quick Switch | Pressing 3 or Q (fingers leave WASD) | Mouse 4 or Extra Mouse Paddle | Instant emergency knife pull or weapon swap without stopping. |
| Inspect / Emotes | Taking up valuable nearby combat keys | Unbound or moved to far-right keys (H, J) | Prevents accidental misclicks during high-stress gunfights. |
4. Advanced Peripheral Setup: Leveraging Mouse and Keyboard Macros
Modern gaming peripherals offer advanced software suites (like Logitech G HUB, Razer Synapse, or Wootility) that let you elevate your binding layout further:
- Rapid Trigger / Magnetic Actuation: If you use a modern magnetic switch keyboard, configure your actuation point down to 0.1mm to 0.4mm for movement keys. This ensures your counter-strafes register instantaneously with the slightest physical finger relaxation.
- Avoid Illegal Macros: While custom key remapping and single-action binds are 100% legal and encouraged, avoid multi-action macros (such as automated recoil-compensation scripts or bhop macros). These violate anti-cheat policies and result in permanent account bans. Stick to clean, 1-to-1 key remapping.
10 Frequently Asked Questions (FAQ)
1. Will changing my keybinds temporarily ruin my performance?
Yes, for the first 3 to 5 days. Muscle memory takes time to overwrite. You will accidentally press old keys out of habit. Stick with your new layout by practicing in casual modes or deathmatches for a week, and your muscle memory will permanently adapt.
2. Is it better to use mouse side buttons for abilities or weapon slots?
Mouse side buttons are ideal for high-frequency combat actions that require simultaneous movement—such as melee attacks, tactical grenades, character dashes, or push-to-talk voice comms.
3. What is “Quick-Cast” and should I use it for all abilities?
Quick-cast executes an ability instantly where your crosshair is pointing the moment you press the key. You should use it for almost all combat abilities, reserving normal cast only for complex targeted wall placements that require precision indicator lines.
4. How do I stop accidentally fat-fingering adjacent keys during high-stress moments?
Look for physical tactile markers on your keyboard. Some gamers place a tiny drop of hot glue or a raised sticker nub on keys like W or Shift to anchor their fingers naturally without looking down.
5. Should I map my crouch key to my mouse or keyboard?
It depends on your playstyle. Mapping crouch to a mouse side button prevents your pinky finger from cramping during long sessions, but mapping it to Ctrl or Left Shift gives you heavier physical control for deliberate peek ducking.
6. Are foot pedals or specialized multi-button keypads worth it for FPS games?
While fun for hobbyists, standard mechanical keyboards and mice offer the most reliable, zero-latency input pipeline. Most competitive professionals stick strictly to standard tenkeyless or 60% keyboards.
7. How do I handle push-to-talk without ruining my movement?
Never use a key that requires your movement hand (left hand) to hold down a button while fighting. Map your voice comms to a mouse thumb button or use open-mic with an aggressive noise gate.
8. What is the best key to bind for inspecting weapons?
Bind weapon inspection to an out-of-the-way key like H or L. Never put non-combat visual animations on easily accessible combat keys like Q or F.
9. Why do some pro players use arrow keys or custom split layouts?
A small percentage of professional players use unconventional layouts (like left-handed setups or shifted key rows) due to past injuries, hand size variations, or personal ergonomic comfort. Always prioritize what feels anatomically natural for your hands.
10. Where can I find more hardware and peripheral optimization guides?
Bookmark The Gamer Buzz and check back regularly for our comprehensive database of professional esports hardware reviews, keybind templates, and competitive optimization tips!
Conclusion
Setting up custom binding layouts for equipment and abilities is the ultimate hardware optimization that requires zero monetary investment. By offloading high-stress actions to your mouse, eliminating finger overlap on your WASD cluster, and enforcing 1-to-1 input isolation, you remove internal physical latency from your gameplay. Remap your controls, grind through the brief muscle-memory transition phase, and react instantly in every high-stress combat lobby!
Leave a Reply