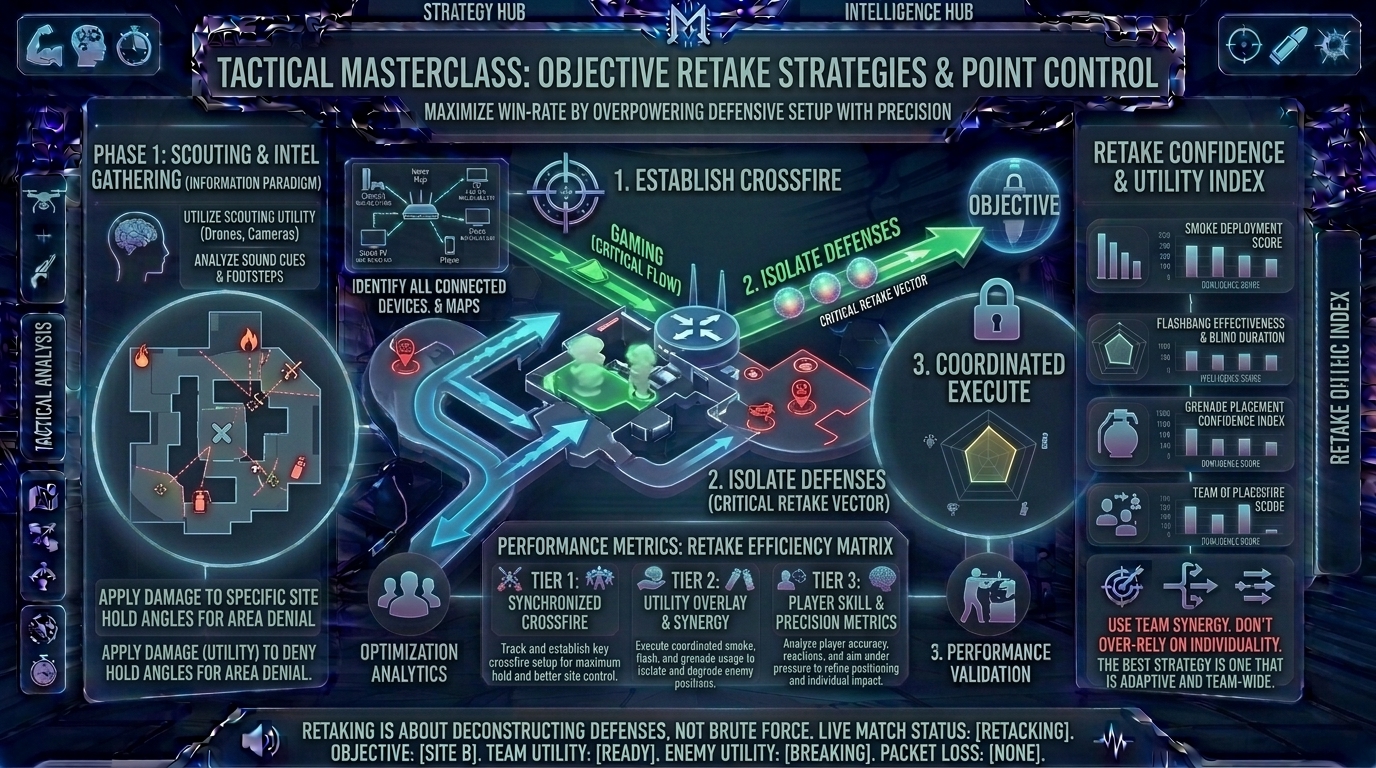
What Are the Best Strategies for Retaking Bomb Sites and Objective Points Against a Well-Defended Enemy Setup?
Welcome to The Gamer Buzz, your definitive competitive tactical authority. Whether you are coordinating site collapses from high-end setups in San Francisco, New York, and Seattle, or grinding through high-stress competitive ranked lobbies across Texas, California, and Washington, one moment defines tactical masterclasses: the site retake.
Your team loses control of a bomb site, the spike or objective is planted, and text flashes across the screen. Panic usually sets in. Players sprint blindly through choke points, dry-peek complex crossfires, and get picked off one by one by an enemy team comfortably dug into post-plant positions.
Winning a retake against a well-defended enemy setup requires treating the situation as a space and information puzzle, not an aim duel. In this exhaustive, master-level guide, we break down resource mathematics, utility layering, multi-pronged synchronization, and psychological traps to successfully retake any objective point.
1. The Retake Reality: Space, Information, and Structure
Before casting a single utility grenade or stepping into a crossfire, you must understand the geometry of a post-plant scenario.
The Attacker’s Advantage vs. Defender’s Mandate
- The Attacker’s Setup: Once the objective is locked down, attackers build overlapping crossfires, hide behind dense cover, and line up utility to delay or outright block your access to the bomb. They want you to rush in blindly out of time desperation.
- The Defender’s Mandate: As the retaking team, your goal is to dismantle their crossfires systematically. You achieve this not by rushing harder, but by coordinating your approach so that the enemy is forced to react to multiple threats simultaneously.
2. The 4-Stage Retake Execution Framework
Successfully collapsing on a defended site requires a strict, sequential process. Never skip a step.
[Stage 1: Inventory & Resource Audit] ➔ [Stage 2: Multi-Lane Regrouping] ➔ [Stage 3: Layered Utility Dumping] ➔ [Stage 4: The Synchronized Push & Defuse]
Stage 1: Inventory and Resource Audit (The 3-Second Pause)
The moment the site falls, take a deep breath and assess what you actually have left.
- Count Living Players & Utility: Do you have a 3v3 retake with three smokes and two flashes, or a 2v3 with zero utility? If you have numbers and utility, slow down. You have time to orchestrate a structured push. If you are low on numbers and time, you must collapse immediately before attackers fully settle into post-plant angles.
Stage 2: Regrouping and Multi-Lane Approach
- Never Enter Alone: Running through a choke point one by one guarantees a series of easy 1v1 duels for the defenders.
- Pincer Movements: Coordinate with your surviving teammates to approach the objective from two separate entry lanes simultaneously (e.g., one group pushes through Main while the other swings through Connector or Heaven). Hitting from dual angles breaks the enemy’s ability to hold a single unified crossfire.
Stage 3: Layered Utility Dumping
Most retakes fail because players “panic-dump” all their grenades in the first two seconds, leaving nothing to protect the defuser later.
- Layer 1 (The Isolation Smoke): Use smokes to cut off primary sniper sightlines or long-range crossfires, isolating the defenders into smaller, disconnected pockets.
- Layer 2 (The Clearing Tool): Throw Molotovs or explosive utility into common “ninja” hiding spots or default holding boxes to flush enemies out of safety.
- Layer 3 (The Defuse Buffer): Save at least one smoke or flashbang specifically for the moment your teammate touches the bomb to begin the defuse.
Stage 4: Forcing the Reaction (The Fake Tap)
Once you have cleared the immediate perimeter of the site, do not immediately commit to a full 5-second defuse channel.
- The Power of the Tap: Tap the objective for half a second to generate the audio cue, then immediately back off into a pre-aimed position.
- Baiting the Panic: Hearing that interaction sound forces hidden attackers to break cover and peek blindly to stop you. Let them peek into your crosshairs rather than you hunting them down across open space.
3. Comprehensive Matrix: Retake Scenarios & Tactical Solutions
| Retake Scenario | Core Challenge | Optimal Tactical Counter-Strategy |
| 1v3 Heavy Crossfire Hold | Attackers watching all site entries from safe distance. | Smoke off primary vision lanes; isolate one angle; double-peek together. |
| Post-Plant with Zero Utility | No smokes or flashes remaining to cover defusal. | Rely entirely on coordinated sound-masking, fake taps, and tight trade positioning. |
| Late Clock Panic (Under 20s) | Insufficient time to execute a slow, multi-lane setup. | Immediate hard push with a flashbang wave; skip complex map movement. |
| Enemies Hiding in Off-Angles | Unconventional spots making standard clears fail. | Use Molotovs/clearing utility aggressively before stepping onto site. |
4. Advanced Psychological Tricks for Retaking Sites
- The Staggered Peek: When entering a site with a teammate, do not shoulder-to-shoulder peek the same angle. Stagger your entry by half a second—the first player draws the enemy’s crosshair and focus, while the second player instantly secures the trade kill before the defender can reset.
- Sound Masking: Use gunfire, utility bounces, or coordinated movement jumps to mask your footsteps as you close the distance on an objective point, catching entrenched defenders off guard.
10 Frequently Asked Questions (FAQ)
1. Should I always save my weapons if we lose a bomb site?
Not always. If the match score is close, it’s match point, or you still have a healthy numbers advantage (like a 3v3 or 4v4 retake), you should attempt the retake. Save weapons only when you are heavily outnumbered (e.g., 1v3 or 2v4) and lack the utility to win cleanly.
2. How do I stop panicking when the bomb is ticking down?
Focus entirely on the immediate micro-task (clearing the closest corner, throwing your smoke) rather than staring at the countdown timer. Breaking the retake down into step-by-step actions keeps adrenaline under control.
3. What is a “fake tap” and why is it so important?
A fake tap is tapping the bomb defuse interface for a fraction of a second to create the distinct audio sound. This psychological trick forces hidden attackers to break cover and peek out of their hiding spots, turning them from passive defenders into moving targets.
4. Is it better to push through smokes during a retake?
Generally, no. Pushing blindly through an enemy smoke puts you at a massive visual disadvantage. Instead, use your own utility to deny their angles or wait out their smoke duration if the clock permits.
5. How important is communication during a site retake?
Absolute communication is critical. Players must call out exact utility usage (“Smoking Heaven now”), coordinate simultaneous entry timing (“Entering in 3, 2, 1”), and share enemy sound locations without cluttering audio channels.
6. What should I do if my teammates refuse to coordinate a retake plan?
If your teammates rush in randomly, your best option is to act as their shadow. Position yourself closely behind the most aggressive player so you can immediately trade out the opponent who kills them.
7. How do I clear close corners effectively during a site entry?
Always keep your crosshair locked at head height and slice the pie around obstacles. Clear the closest, most immediate danger angle before looking toward distant post-plant sniper nests.
8. Can ultimates or special abilities turn an impossible retake around?
Yes. Area-of-effect denial abilities, scouting drones, or heavy flash utility can instantly break a defensive post-plant setup, transforming an unwinnable 2v3 into an open site.
9. Why do defenders often lose retakes even with a man advantage?
Because they rush in uncoordinated, taking isolated 1v1 gunfights that allow the attacking team to pick them off one by one. Structure and trading mechanics always beat raw numbers in post-plant scenarios.
10. Where can I find more advanced tactical team strategies and map guides?
Bookmark The Gamer Buzz and check back regularly for our comprehensive database of professional esports guides, map-control breakdowns, and competitive rank-up tips!
Conclusion
Retaking bomb sites and objective points against a well-defended enemy setup is the ultimate test of tactical discipline, resource management, and team synchronization. By abandoning rushed individual hero plays, auditing your remaining utility, executing multi-lane pincer movements, and leveraging psychological fake defuse taps, you turn overwhelming post-plant disadvantages into brilliant team victories. Structure your approach, layer your utility, and reclaim every objective!
Leave a Reply